Image Source: Canva
1. Nail Polish Remover or Acetone
2. Cotton Ball
3. Nail File
5. Cuticle Trimmers or Nippers (this is totally optional)
6. Gel Primer
8. Gel Nail Polish ( similar colors of your choice of course )
9. Gel Top Coat
10. Alcohol (you’re also going to need some rubbing alcohol)
11. Led or UV Lamp
12. E File or Nail Buffer ( is actually optional which is an e file but if you don’t have one you can use a regular nail buffer)
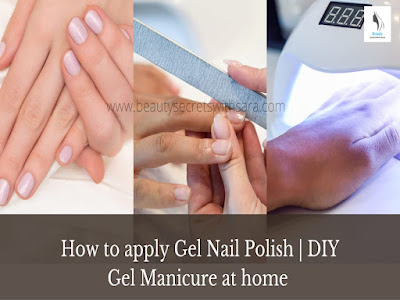
How to apply Gel Nail Polish | DIY Gel Manicure at home Step by Step
Step 1
Today is going to be to remove any old nail polish that you might have if you have gel polish you’re done cleaning your nails.
Step 2
Is going to be to buff them out I have an e file but like I said it’s not necessary you can use a nail buffer and this is just going to help later on once. You start applying your polish once you’ve buffed out your nails it is now time to push your cuticles back as you can see here.
You have this nice little tool that always helps me out and you switch back and forth from the thicker end and the smaller end depending on what you need to do so you can go ahead and do that to every single one of your nails and then we’ll move on to . Your nails from t his to this beautiful Gel Nail Polish | DIY Gel Manicure .
Step 3
Now this step is completely optional so you don’t have to nip or trim your cuticles but I absolutely love doing this just because I feel like my manicure lasts longer if you don’t feel comfortable doing this .You can always just leave them pushed back and moisturize them with either cuticle moisturizer cuticle oil or coconut oil if you don’t have any other oil at home as you can see.
You are being super careful make sure that when you’re doing this you’re taking your time definitely don’t rush . Because you might nip yourself and this is what your nails are going to look like .Your nails from t his to this beautiful Gel Nail Polish | DIY Gel Manicure .
Step 4
You can either clip your nails. If you don’t like the length but if you already are happy with it you can just file your nails down you wanted to show you a super important part of this process which is to round.
You noticed that you have a few spots that you missed so you can go ahead and file them down if you have them too like so.
Step 5
Is going to be to clean your nails with some alcohol this is going to help remove any oil or any other product that is on your nails and it’s going to help the polish adhere much better and now your nails should look like this. They are beautiful and ready to be painted but before we do that we’re going to apply a gel primer which is super important it’s going to act similar to the alcohol.
How to do UV Gel Nails with tips at home step by step
It’s going to dehydrate your nail and what this is going to do is it’s going to help the gel polish stick to your nail and last longer . Your nails from to his to this beautiful Gel Nail Polish | DIY Gel Manicure . So you can go ahead and put this on every single one of your nails and you can cure this for about 45 seconds or depending on what your product asks for and now on to the fun part which is painting our nails with the color of our choice.
So because you are not too worried about staining with this color in particular.
You are going to skip that but if you have it at home I definitely recommend you use it as you can see here you made a little mistake so you can always fix it with a cuticle pusher just the way. Your nails from t his to this beautiful Gel Nail Polish | DIY Gel Manicure . You did the first layer is not going to look perfect either which is why you are stressing that you use thin multiple layers it’s going to pay off in the end .
How to do Gel Nails at home with UV light
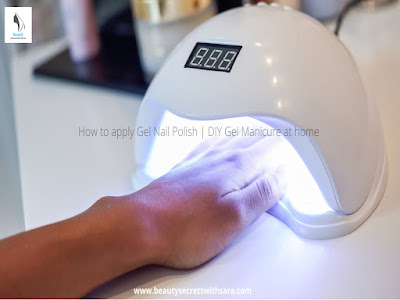
I promise you and once you’re ready to cure your manicure you can go ahead and stick your hand in your led or Led or UV Lamp whichever one you have and like i said it all depends on which brand you’re using . It could take 45 seconds to cure up to two minutes to cure and this is what the first layer is going to look like like I said it’s a little transparent .
But the colors will start to pop through once you add in the second and third maybe even fourth layer you can use thicker layers if you want to like. Your nails from t his to this beautiful Gel Nail Polish | DIY Gel Manicure . I said it’s all about personal preference if you want your nose to look thicker you can use that if you want your nails to look a little bit thinner and look a little bit more natural . You can use my technique after the second and the third layers have been cured.
Image Source: Freepik
You want to show you what they’re going to look like your nail polish came out like this and now that I’m satisfied with the thickness of your nails . You are going to move on to the top coat this Gel Top Coat is going to make your nails look super shiny but more importantly. Your nails from t his to this beautiful Gel Nail Polish | DIY Gel Manicure . It’s going to protect your Gel Nail Polish and make it last longer after you’ve applied your Gel Top Coat you’re going to cure your nails a couple of times just to make sure that everything has cured properly.
Step 6
Is going to be to clean your nails with some alcohol gel polish tends to have this sticky layer on top of it after you cure it so this is just going to clean that off and once you’re finished with cleaning them you’re done and these are the final results . Your nails from t his to this beautiful Gel Nail Polish | DIY Gel Manicure .


